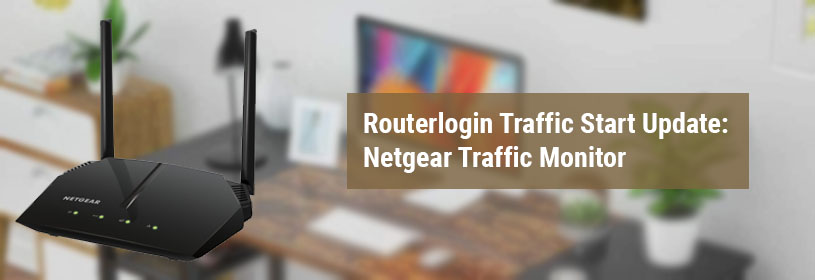
Having a Netgear WiFi router installed in the house is no less than a blessing. The reason being, they let the user bid farewell to internet dead zones forever. However, the actual responsibility of the user starts after completing the setup process. Since there is no match for WiFi speeds delivered by Netgear routers, freeloaders try to connect to the WiFi network. As a result, the routerlogin traffic start update situation shows up and the user has no idea why this is happening. He/she tries changing the routerlogin password and upgrading the firmware but nothing happens.
Have you also tried both of these methods but the traffic on your WiFi router keeps on increasing? If yes, then you should learn the steps to monitor internet traffic on your wireless router. After knowing that, you will easily be able to kick off WiFi leeches.
What is Netgear Traffic Monitoring?
Traffic metering or traffic metering provides you with the facility of keeping an eye on the internet traffic density that travels through the Internet port of the router. It means you will be able to know about the incoming internet traffic and easily take action when the routerlogin traffic start update. All you need to do is set limits for traffic volume.
Now, check out the next section to learn the process of monitoring the internet traffic on WiFi router brought in by Netgear through my router login portal.
Routerlogin Traffic Start Update? Monitor the Traffic!
1. Visit routerlogin.net
No setting of Netgear router can be changed without accessing routerlogin.net or 192.168.1.1. Therefore, visit one of these addresses to make your way to the administration panel of the router. Know that the computer on which you are carrying out the process needs to be connected to the router (wirelessly or through an Ethernet cable). With a successful visit to the login address, you will be able to see the Netgear WiFi router login page.
2. Log in to the Router
On the admin page, the fields named User Name and Password can be easily located. Type admin into the first field and password into the second one. Both these details are in lowercase. Therefore, you must avoid unnecessary capitalization of letters. However, you must know that these details will only work in case your router is still running on the default admin settings. If you’ve ever changed them, use the new username and password. After that, select the Log In option.
3. Enable Traffic Meter
The Status page or the BASIC Home screen will show up now. Select the option labeled ADVANCED and click the ADVANCED SETUP tab. The next step is to choose the TRAFFIC METER option. ENABLE TRAFFIC METER by checking the box adjacent to the option with the same label. The traffic meter will be enabled and you will get notified once the routerlogin traffic start update.
4. Control Internet Traffic Volume
Although this setting is optional, still you should look forward to enabling it. You can either go for the TRAFFIC VOLUME CONTROL feature or the CONNECTION TIME CONTROL feature. If you go with the first option, then you can either select NO LIMIT (no restrictions), DOWNLOAD ONLY (restrictions to incoming traffic only), or BOTH DIRECTIONS (restrictions on incoming as well as outgoing traffic) option. If you choose the CONNECTION TIME CONTROL feature, you need to enter the allowed hours in the MONTHLY LIMIT field.
5. Set the Traffic Counter
In the TRAFFIC COUNTER section, you need to set time and date limits for the counter to begin. If you wish to start it immediately, select the RESTART COUNTER NOW button. Choose whether you want to get a warning before the monthly limit of Mbytes or hours is exceeded. By default, it is 0 and no warning message is issued. When the limit is attained, your router’s INTERNET LED will either blink WHITE or AMBER. In a few cases, the INTERNET CONNECTION is DISABLED. Click the APPLY button after making the changes. To update the Traffic Statistics option, click REFRESH.
Final Thoughts
That’s how to use Netgear Traffic Monitor if my routerlogin traffic start update. We hope that you will be able to control incoming traffic on your router using the aforementioned instructions. Just in case your Netgear router settings not getting changed via the information given above, restart the router and retry.